


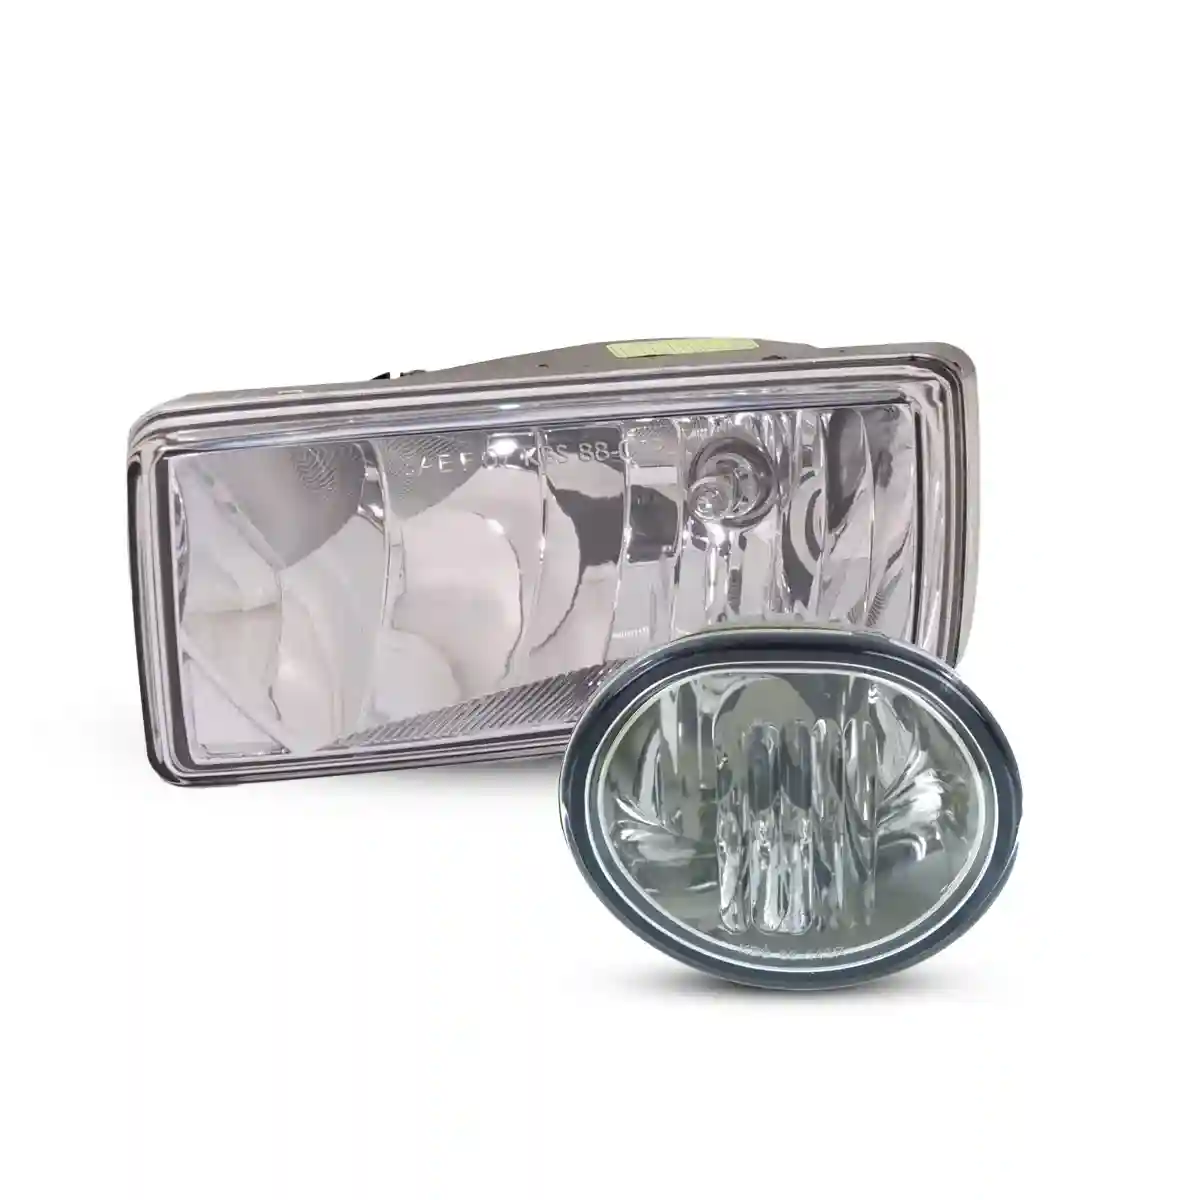

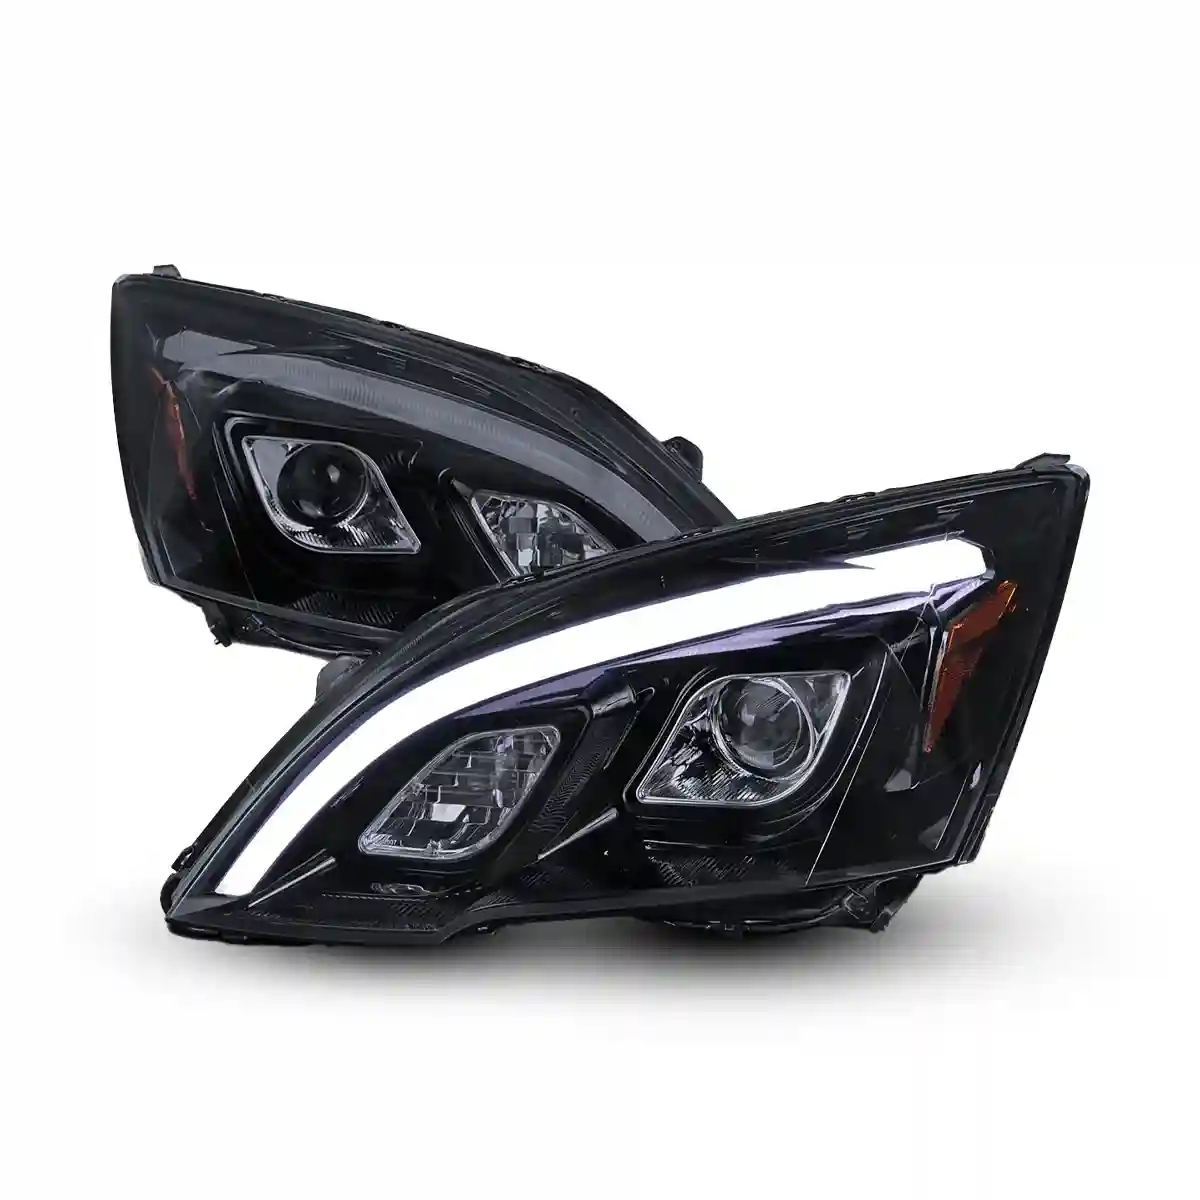


Are your foggy headlights making night driving feel like an eerie horror movie scene? Cloudy, yellowed headlights don't just make your car look old-they can seriously cut down your visibility and safety.
But don't worry, you don't need a pricey professional fix. With a few household items and the right technique, you can restore your headlights to a crystal-clear shine in no time. Let's dive into the pro tips that will have your headlights looking brand new!
Key Takeaways:
- Rinse headlights with water and use a mild cleanser to remove dirt and grime.
- Apply non-gel toothpaste or baking soda paste and scrub in circular motions.
- Use a clean microfiber towel to dry the headlights and avoid scratches.
- Apply a quality headlight restorer to protect against future UV damage.
- Ensure all cleaning residue is removed for clear, bright headlights.
Why Are Your Headlights Foggy?
Although your headlights might seem sturdy, they're not immune to the effects of UV exposure. Over time, the sun's rays cause the polycarbonate lenses to degrade, leading to foggy headlights.
This degradation results in a yellowish tinge and diminished brightness, as the lenses absorb blue light instead of emitting it. You might notice your car looks older and less maintained because of this.
To counteract these foggy headlights causes, incorporate regular headlight maintenance tips into your routine. Clean your headlights periodically using a mild cleanser and a soft cloth. Consider applying a UV sealant after cleaning to protect the lenses from further damage.
By maintaining your headlights, you'll guarantee clearer visibility and a fresher look for your vehicle.
Why Is It Dangerous to Drive With Foggy Headlights?
When your headlights are foggy, it becomes dangerous to drive, especially at night or in poor weather conditions. Reduced nighttime visibility greatly increases your accident risk.
You can't see the road clearly, which means you might not notice obstacles, pedestrians, or other vehicles until it's too late. This limited view can lead to sudden braking, swerving, or worse, a collision.
Foggy headlights make it harder for oncoming traffic to see you, especially in rain or fog. This decreased visibility can result in other drivers misjudging distances or overlooking your vehicle entirely.
Additionally, foggy headlights contribute to eye strain, as you'll squint to make out the road ahead. Ensuring your headlights are clear is vital for safe driving and protecting yourself and others.

What Methods Can You Use to Clean Your Foggy Headlights?
To tackle foggy headlights, several effective methods are at your disposal, each utilizing common household items or specialized products.
Like for example:
- The toothpaste method is a popular choice. Simply apply non-gel toothpaste to a cloth and rub it on the headlight in circular motions for 5-10 minutes.
- Another method involves using baking soda, known for its mild abrasive properties. Mix baking soda with water to form a paste, then gently scrub the headlights using a cloth.
Both methods are cost-effective and straightforward, offering impressive results. Remember, maintaining clean headlights not only enhances your vehicle's appearance but also guarantees safer driving conditions.
How to Clean Foggy Headlights - Step by Step
Clean the Surface of Debris
Start your headlight cleaning process by focusing on the initial and essential step: removing debris from the surface. Effective cleaning techniques guarantee that your headlights are clear and functional.
Begin by rinsing the headlights with water to dislodge loose dirt and grime. Use a mild cleanser or soap to scrub the surface gently, making sure all areas are covered. This surface preparation helps prevent scratches when applying more abrasive cleaning solutions later. A soft brush can assist in reaching crevices and removing stubborn particles.
Rinse thoroughly with water again to wash away any remaining cleanser. By taking these steps, you'll set a solid foundation for the next stages of cleaning, allowing the restoration products to work their magic effectively.
Towel Dry
Once you've thoroughly cleaned your headlights, it's crucial to towel dry them to prevent water spots and guarantee a clear finish. Proper towel maintenance plays a significant role in ensuring your headlights remain spotless.
Grab a clean, soft microfiber towel to avoid scratching the lens. Using effective drying techniques, gently pat the surface rather than rubbing it vigorously. This approach reduces the chance of leaving streaks or scratches.
Make sure you cover all areas of the headlight, including the edges, to remove any lingering moisture. Regularly washing and maintaining your towels will help keep them in prime condition, ensuring they're free from dirt and debris. By taking these steps, you'll maintain the clarity and brightness of your headlights, enhancing your vehicle's overall appearance.
Use Headlight Restorer
After towel drying your headlights to achieve a spotless finish, it's time to apply the headlight restorer. This essential step in headlight maintenance involves using restoration products specifically designed to tackle the foggy haze that diminishes brightness. First, make sure you have a quality headlight restorer on hand, which can be found at most auto stores.
Apply the product evenly across the lens, following the instructions on the package for best results. Use a clean microfiber cloth to spread the restorer, making certain every inch of the headlight is covered.
Let it sit for a few minutes to allow the chemicals to work their magic. This process not only restores clarity but also helps protect against future UV damage, keeping your headlights clear and bright.
Remove and Clean Off
Although applying the headlight restorer is crucial, removing and cleaning off the excess product is just as important to achieve a crystal-clear finish. Begin by gathering your cleaning supplies, including a soft-bristled brush and a clean, dry rag.
After you've applied the restorer to your foggy headlights, use the brush to gently scrub the surface, guaranteeing all the product is evenly distributed. This process will help lift any remaining fogginess.
Next, take the dry rag and carefully wipe away the excess restorer. The key is to make sure no residue remains, as this could otherwise dull the surface. Once done, step back and admire your work-those headlights should now look nearly new, enhancing both appearance and safety.
Final Thoughts
Isn't it amazing how a little cleaning can make such a big difference? By tackling those foggy headlights, you've not only enhanced your car's appearance but also improved your safety on the road.
With just a few household items and a bit of effort, you've restored clarity and brightness. So, why wait? Keep up with this simple maintenance to guarantee your headlights remain clear and bright, making every drive safer and more enjoyable.
Frequently Asked Questions
Can Foggy Headlights Affect Car Resale Value?
- Foggy headlights can negatively affect your car's resale value. Potential buyers might perceive it as poorly maintained, impacting their perception and offer. Clear headlights improve appearance and safety, enhancing resale impact positively. Keep them clean for better offers.
How Often Should I Clean My Headlights to Prevent Fogging?
- Like keeping a window clear, you should clean your headlights every few months. Consistent headlight maintenance prevents foggy headlight causes, such as UV exposure, ensuring clear visibility and a safer driving experience. Don't wait until it's too late!
Can I Use Household Items to Clean Foggy Headlights?
- You can use household cleaners like baking soda and non-gel toothpaste for DIY methods to clean foggy headlights. Apply these in circular motions, rinse thoroughly, and enjoy clearer headlights without spending on expensive kits.