


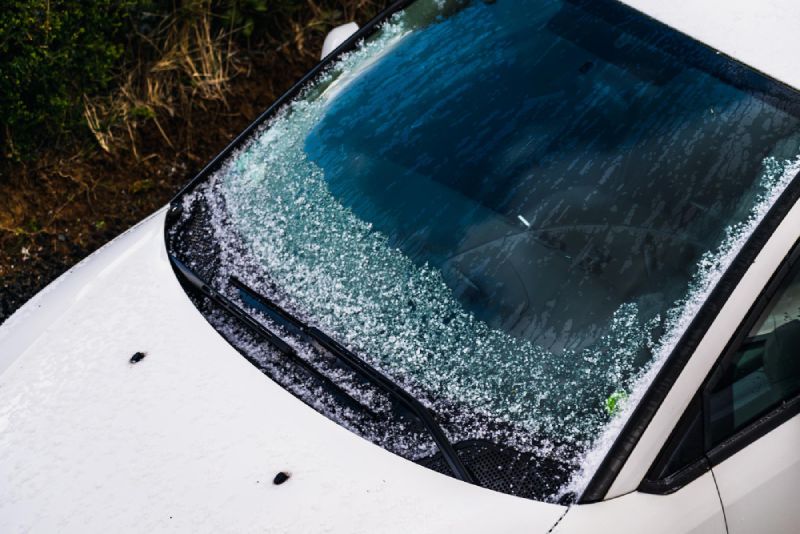
Hailstorms can strike with little warning, leaving behind a trail of damage that ranges from barely noticeable dimples to deep, unsightly dents across your car's hood, roof, and trunk. While professional repair services offer expert solutions, they can be costly and time-consuming. Fortunately, not every case of hail damage requires a trip to the body shop.
With the right tools, techniques, and realistic expectations, many minor dents can be successfully fixed at home. This article walks you through the entire process starting with understanding the science behind hail damage, assessing the severity of your vehicle, and exploring proven do-it-yourself repair methods.
Key takeaways:
- Most shallow hail dents can be safely repaired at home using basic tools like glue pulling kits, heat guns, and cooling sprays.
- Accurate damage assessment is critical to avoid worsening metal fatigue or cracking paint.
- DIY repairs work best on accessible areas where paint is intact and metal isn't stretched.
- Serious dents, paint damage, or roof panel deformations should still be handled by professionals to preserve structural and cosmetic integrity.
By the end of this guide, you'll know whether your car qualifies for DIY hail repair, how to approach it methodically, and what results to expect.
Understanding Hail Damage
To effectively repair hail damage, it's important to understand how it affects different automotive surfaces. The impact of hail is not just about cosmetic dents - it involves complex material behavior under sudden force. Knowing the mechanics behind it helps you evaluate which damage is recoverable through DIY methods and where metal fatigue, panel memory, or paint failure may complicate repairs.
Explanation of How Hail Causes Damage to Cars
Hail damage occurs when ice stones strike a vehicle's surface at high velocity, driven by wind and gravity. The severity of this impact depends largely on two factors: the kinetic energy of the hailstone and the properties of the impacted surface.
Automotive body panels, typically made from mild steel or aluminum alloy, deform under sudden pressure. When a hailstone hits, the surface absorbs the impact by stretching outward and rebounding inward. However, if the force exceeds the panel's elastic limit, it causes permanent deformation - a dent.
Painted panels complicate this further. The base metal and the clear coat layer have different flex tolerances. If the force is localized and sharp (such as with smaller, harder hailstones), the paint may crack before the metal even fully deforms.
Softer, broader hailstones may create large, shallow dents without breaking the paint. Panels with reinforcement (like hoods with bracing underneath) often show high resistance, but once deformed, they're harder to reverse cleanly using PDR techniques.
Factors Influencing the Extent of Damage
Not all hailstorms cause equal damage.
The outcome depends on a combination of environmental and material factors:
- Panel Material and Thickness: Steel panels resist denting more than aluminum, but aluminum may bounce back slightly under certain conditions. Thicker panels (like those on truck beds or older vehicles) deform less than thinner economy car hoods.
- Hailstone Size and Density: Larger, denser hailstones (typically 1 inch and above) create more destructive force. Softer hailstones may flatten on impact and spread force, causing shallow impressions, while hard stones produce sharper, deeper dents.
- Impact Velocity and Angle: Wind-driven hail travels faster and at more horizontal angles, which increases impact velocity and affects vertical and side panels, not just roofs and hoods.
- Panel Shape and Bracing: Flat, wide panels like roofs and hoods show damage more readily. Curved areas or panels with internal reinforcement distribute impact better but are harder to repair without special tools.
Understanding these dynamics helps you decide which repairs are within the limits of home methods and which involve material distortion beyond a DIY fix.

What Size Hail Will Damage a Car?
While damage can begin with hail as small as 0.5 inches, particularly on lightweight or aluminum body panels, the threshold for significant deformation typically starts at 0.75 to 1 inch in diameter.
Here's a breakdown by size for context:
- Less than 0.5 inch (pea-sized): Often results in minor surface dimpling; usually cosmetic and fixable with basic techniques.
- 0.75 to 1 inch (nickel to quarter-sized): Capable of causing small to medium dents, often shallow. Paint may remain intact if the stone is not sharp or wind-driven.
- 1.25 inches and above (half-dollar to golf ball-sized): Likely to create sharp-edged dents, paint fractures, and stretched metal. These impacts frequently require advanced PDR or traditional bodywork.
- 2 inches and above (egg-sized or larger): Causes severe structural damage. Panels may warp, paint may shear or chip, and window glass can crack or shatter.
In most real-world cases, DIY repair is feasible only when hailstones fall within the 0.5 to 1.25-inch range and do not involve complex panel geometries or deep, paint-compromising impacts.
Assessing the Damage
Before attempting any repair, a thorough assessment of the hail damage is essential. It helps determine if the issue is purely cosmetic or if deeper structural implications are present. Proper evaluation saves time, prevents unnecessary repairs, and ensures the safety and integrity of the vehicle. Below are the key stages of a professional-level inspection adapted for at-home evaluation.
Inspecting the Vehicle for Dents and Scratches
Begin by cleaning the vehicle thoroughly to remove dirt and reveal all surface imperfections. Choose a bright, overcast day or use diffused lighting in a garage to enhance visibility of dent contours.
Use a soft microfiber cloth and mild soap, then dry the panels completely. Position yourself at a low angle to the surface and inspect from different perspectives - some dents are only visible from a glancing view.
Run your hands gently over the surface. Subtle indentations may not be easily visible but can be felt as shallow depressions. Use a dry-erase marker or painter's tape to mark each dent as you find it. Pay close attention to horizontal panels (like the hood and roof), as they are typically the most impacted.
Identifying Areas That Require Repair
Not every blemish calls for immediate correction. Once you've marked the dents, identify which ones fall within the scope of DIY repair.
Focus on dents that:
- Are smaller than 1.5 inches in diameter
- Have no paint chipping, cracking, or rust
- Are located on flat or slightly curved surfaces
- Do not involve seams, ridges, or edges
Areas that consistently meet these conditions are prime candidates for glue pulling or heat-cool methods. Avoid attempting repairs on door frames, roof rails, or complex curves unless you have advanced skills and tools.
Determining if the Damage Is Superficial or Requires More Extensive Work
Superficial dents typically involve no paint damage and minimal metal distortion. They can be reversed using non-invasive techniques without compromising the integrity of the vehicle's finish. Indicators of superficial damage include smooth-edged indentations, intact clear coat, and shallow depth.
In contrast, more extensive damage reveals itself through:
- Paint cracks or chips, indicating substrate impact
- Creased or sharp-edged dents where metal has stretched
- Multiple overlapping dents in the same area (a sign of hail concentration)
- Panel warping or deformation that changes the reflection or contour
If any of these signs are present, DIY solutions may produce unsatisfactory results or worsen the issue. In such cases, professional inspection becomes necessary. These areas often require specialized paintless dent repair techniques, access from behind panels, or even full panel replacement in extreme cases.
In summary, effective damage assessment is more than a visual scan, it's a structured process that identifies repairable dents, isolates complex damage, and sets the course for appropriate action. Rushing this step risks compounding the problem and negating the cost savings of a do-it-yourself approach.
DIY Repair Techniques
You can tackle minor hail damage at home using two main methods: heat‑and‑cold treatment and glue‑pull dent removal. Appropriate tools and care deliver decent results on shallow dents.
Tools and materials needed for repairs:
- High‑quality PDR glue pulling kit with tabs, glue gun, and a range of pulling tabs
- Heat gun or hair dryer with adjustable settings
- Dry ice or compressed air for rapid cooling
- Plastic wedge or dent lifter bar
Step‑by‑step guide and tips:
- Clean the damaged surface thoroughly with mild detergent and dry completely.
- Apply heat using a hair dryer or heat gun on low‑medium strength directly over a dent for 30-60 seconds. This softens the metal.
- Apply dry ice or cold spray immediately to the heated area. The metal contracts quickly, which may pop the dent out slightly/
- For more control, use a glue pulling tab on the dent: apply hot glue, stick the tab centrally, let it set, then gently pull with the provided tool. Avoid over‑pulling.
- Repeat multiple times on the same dent if necessary, adjusting tab size and pull angle.
- Fine‑tune high spots with gentle taps using a knockdown tool or rubber mallet wrapped in soft cloth.
These methods work best on small shallow dents where paint remains intact. Excessive force, overheating, or improper glue application can crack paint, worsen metal stretch, or create new blemishes. DIY kits run into several hundred dollars in costs, and experts warn that professional-level PDR requires thousands of dollars in tools and training.
Tips for Achieving the Best Results
Achieving good results depends on consistent technique and restraint. Train first on old scrap panels before targeting your vehicle. Always warm the panel evenly and apply cold cooling only after heating.
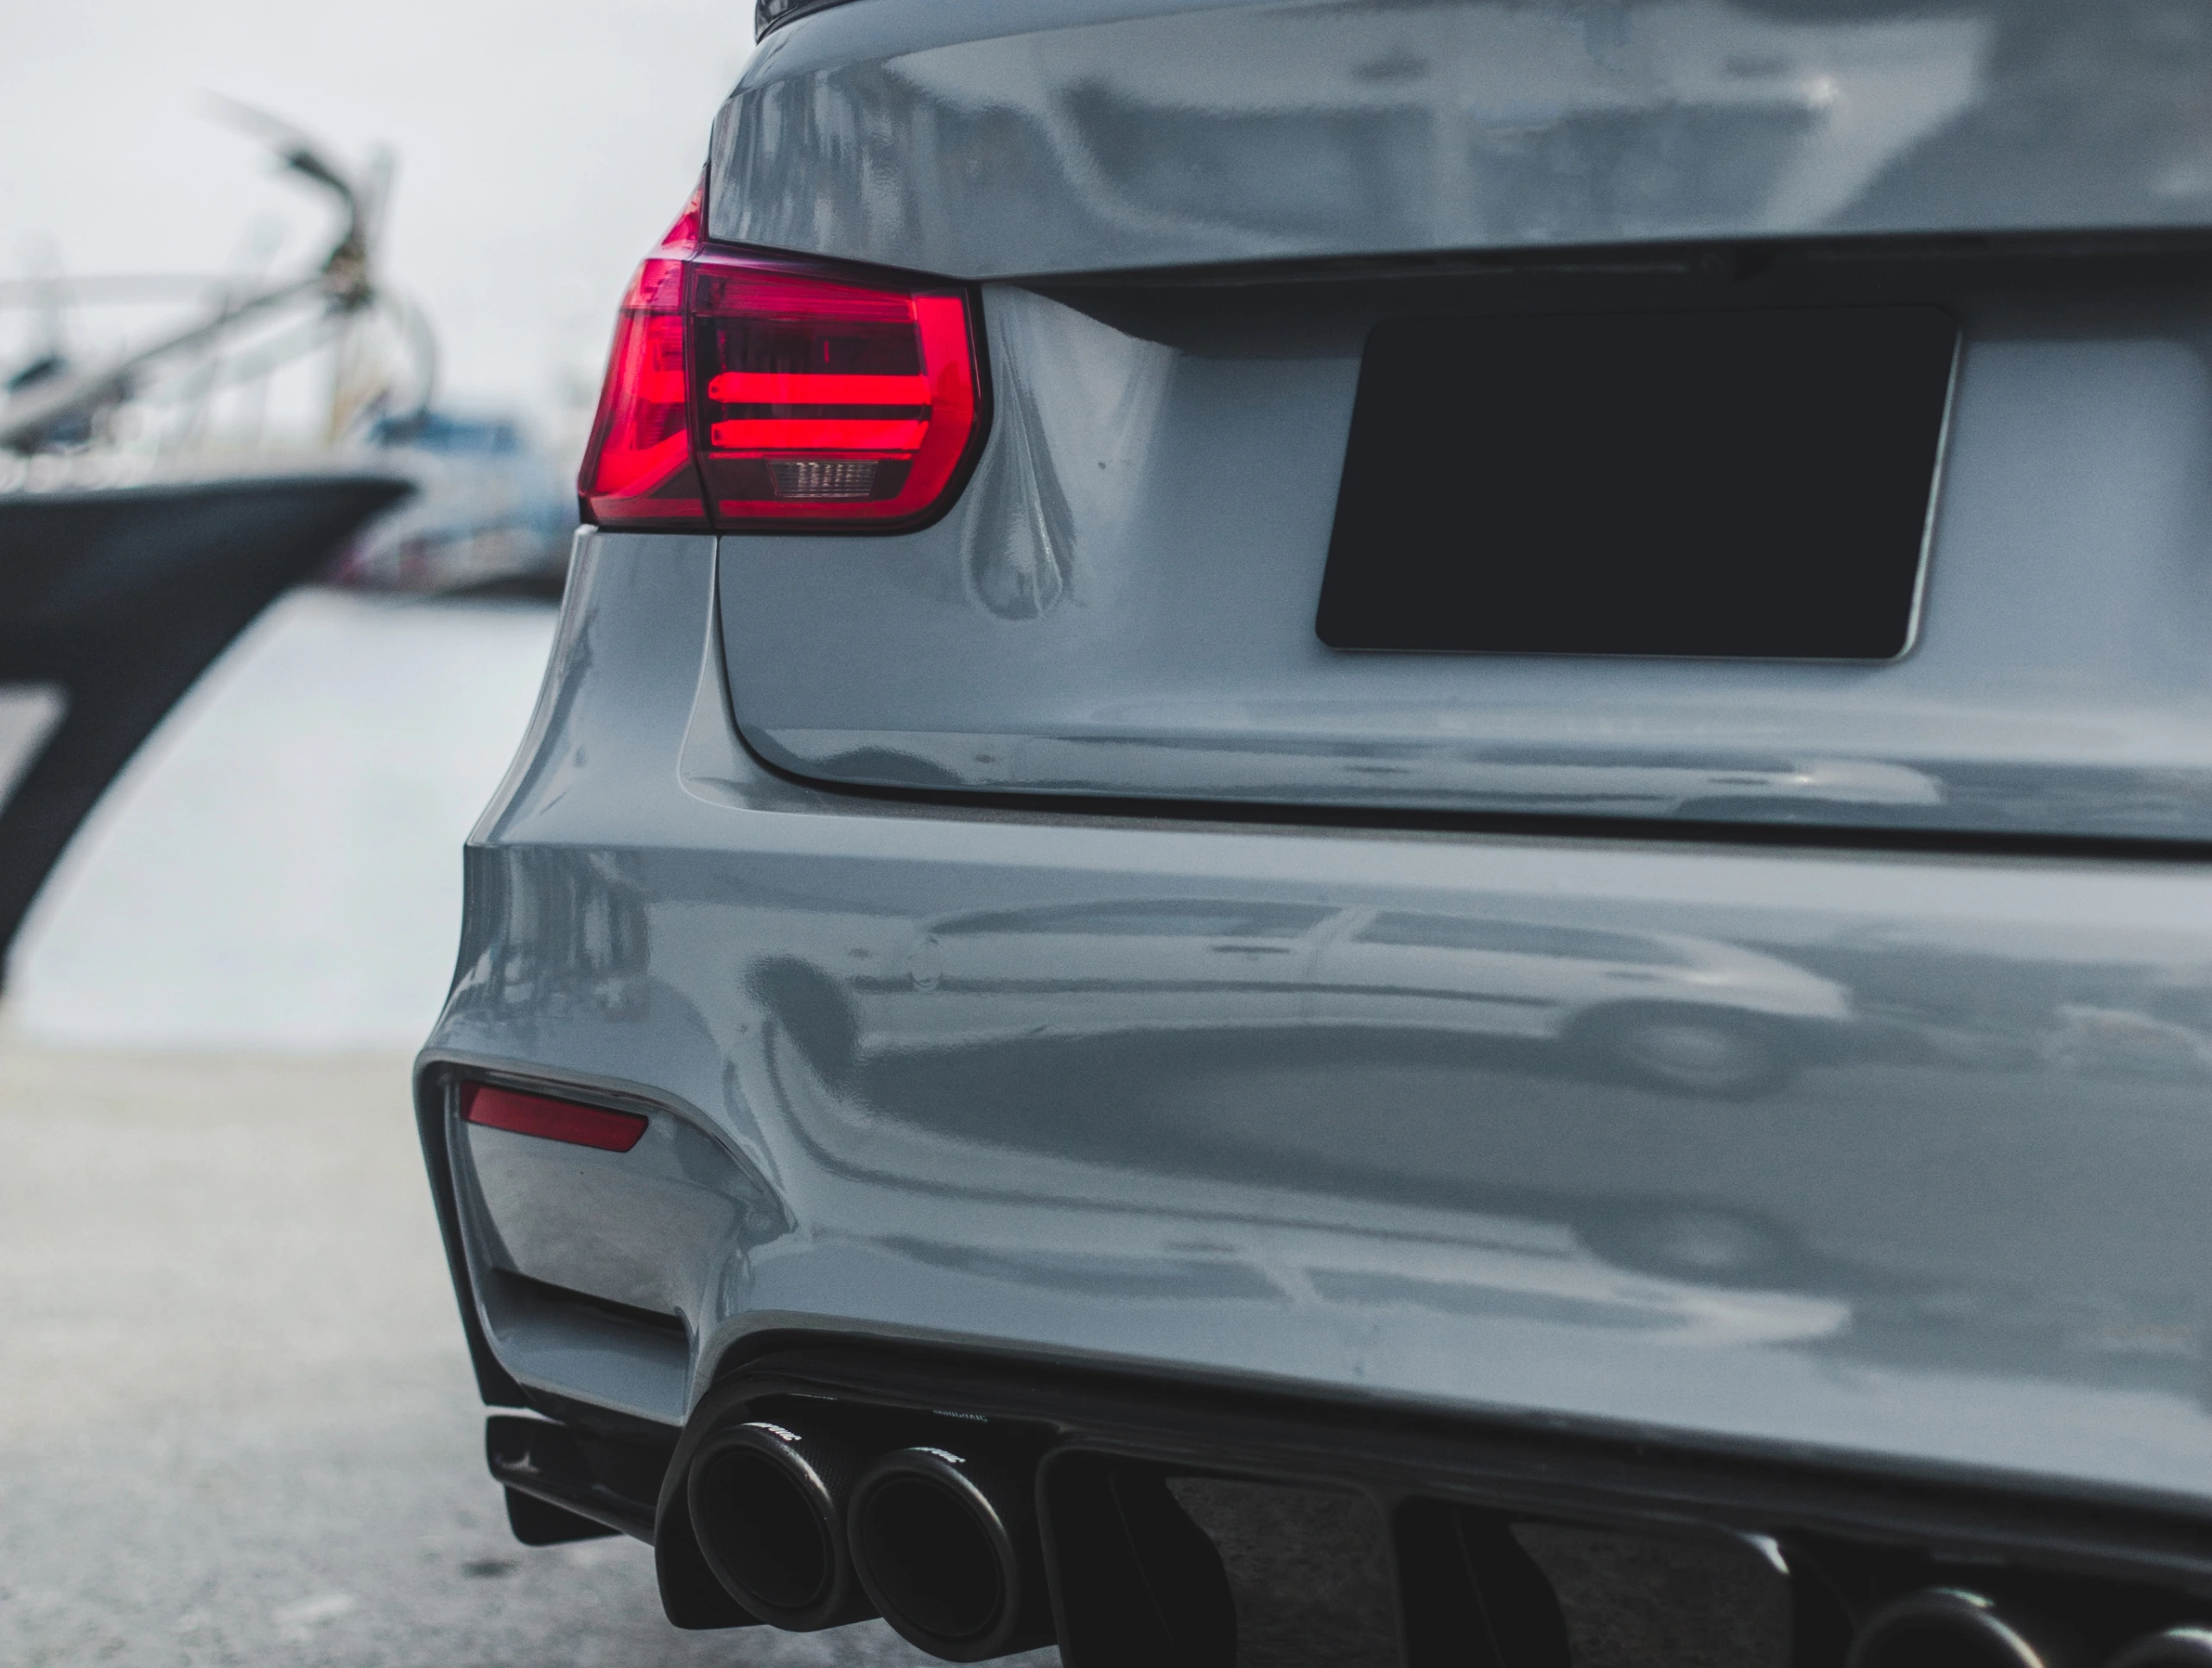
Never pull too hard or in one stroke - small incremental adjustments work better. Always clean off glue residue thoroughly and polish the area. Be prepared to leave larger or sharp dents for professionals, especially on roof panels or curved surfaces (like rear or front bumpers). Honest assessment prevents wasted time or further damage.
In summary, minor hail dents can sometimes be addressed at home using heat‑and‑cold techniques or glue‑pulling tools. These methods suit shallow, paint‑intact dimples. They require patience and care. Deep dents, stretched metal, or cracked paint should be left to trained technicians using professional paintless dent repair tools and techniques.
Final Thoughts
DIY hail dent repair can deliver visible improvement on minor damage when approached with proper tools, technique, and patience. Yet results vary. DIY methods suit small dents where paint is intact and panel access is good.
Large dents, metal stretching, or paint damage call for a professional approach to preserve appearance and value. Always prioritize safety, start small, and choose professional repair if needed.
FAQs
How large does hail need to be to damage my car?
- Hail around 1 inch in diameter often produces noticeable dents and metal stretching. Smaller hail under 0.5 inch tends to leave only light cosmetic dimples.
Can I fix hail damage in cold weather?
- It’s possible, but challenging. Cold temperatures make metal less flexible, so methods like heat-and-cool may require prolonged heating to be effective. Working indoors or in a heated garage can help prevent cracking the paint during repair.
Is DIY hail repair cheaper than using insurance or pro repair?
- DIY kits cost several hundred dollars and offer results on minor damage only. Insurance coverage with PDR often achieves superior quality and may eliminate out‑of‑pocket costs if the deductible is low.