


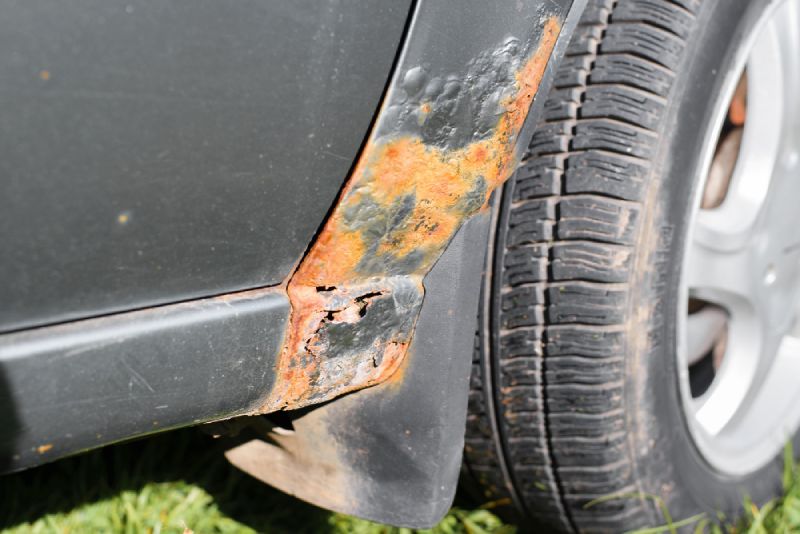
Fender rust is a common issue that plagues many vehicles, especially those exposed to wet, salty, or humid environments. Left untreated, rust not only affects your car's appearance but also weakens structural integrity and leads to costly repairs.
Fixing fender rust at home is a practical solution for many drivers, as long as the corrosion hasn't penetrated too deeply. This guide walks you through assessing the damage, preparing your workspace, and completing a professional-quality repair using accessible tools and materials.
Key Takeaways
- Early detection and treatment of rust prevent long-term body damage.
- A controlled workspace, proper tools, and patience are key to a lasting repair.
- Following each step thoroughly ensures structural and cosmetic restoration.
Why is Rust Dangerous?
Rust often begins around wheel wells and fenders, where moisture and debris accumulate. Addressing fender rust promptly avoids further spread into the body panels and frame.
Surface rust, when treated early, is manageable with basic tools and materials. DIY rust repair can preserve the resale value of your car and restore a clean, professional appearance without requiring a body shop visit.
Rust forms when bare metal reacts with oxygen and moisture, leading to the oxidation process known as corrosion. Vehicles in coastal areas, regions with heavy snowfall, or high humidity are especially vulnerable due to the increased presence of salt and water. Small chips in paint, minor dents, or unsealed welds can expose metal surfaces and accelerate this chemical reaction.
If left untreated, rust eats through metal, compromising both the aesthetic and structural integrity of your car. It weakens fenders, frames, and mounting points, which can lead to serious safety issues over time.
Structural rust may affect the car's ability to absorb impact in an accident or cause failure in critical components such as brake lines and suspension mounts. This makes early detection and treatment more than just cosmetic, it's essential for maintaining vehicle safety and performance.
By understanding what causes rust and why it must be addressed immediately, you can take effective action to stop corrosion before it spreads beyond repair.
Assessing the Extent of Rust Damage
Understanding the scope of rust on your fender is the first and most critical step in any repair process. Rushing into sanding or painting without a full assessment risks wasting time and materials or worse, masking a structural issue that continues to deteriorate beneath the surface.
Rust rarely stays isolated. What begins as a small discoloration or paint bubble may reveal deeper oxidation, spreading along the metal, beneath seam joints, or even into support brackets.
Before you can repair anything effectively, you need to know exactly what you're dealing with. This section walks you through identifying visible symptoms, choosing the right inspection tools, and knowing when to stop and call in a professional. The goal is to ensure that the rust can be treated at home with lasting results.
Identifying Rust Spots and Severity
Start by examining the fender closely for bubbling paint, discoloration, or rough textures. Tap gently around suspicious areas flaky or soft metal indicates more severe corrosion. Early-stage rust affects only the surface, while advanced rust may have penetrated through the metal, requiring filler or panel replacement.
Tools for Inspection
A flashlight helps reveal rust under wheel arches or shaded parts of the fender. A magnifying glass allows you to examine the depth of pitting or spot smaller cracks in the paint where rust may originate. Use a plastic scraper or your fingernail to check for lifted edges in the paint that might be hiding corrosion.
Determining if Professional Help is Needed
If rust has created holes through the metal, compromised structural points, or extended beyond the fender into the rocker panels or undercarriage, professional repair is advised. For surface rust, blistering paint, or mild pitting, a DIY approach is practical and cost-effective.
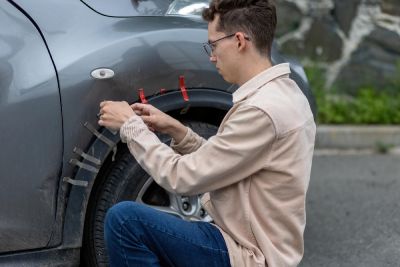
Preparing the Work Area and Materials
Setting Up a Safe and Clean Workspace
A well-prepared area increases efficiency and safety. Choose a well-ventilated, covered space such as a garage with a drop cloth or cardboard beneath the work zone to collect dust and debris. Make sure your lighting is adequate and that all materials are within arm's reach before you begin.
Essential Tools and Materials
Your repair kit should include:
- Sandpaper in various grits (80, 120, 220, 400) to remove paint and rust in stages
- Wire brush or drill-mounted sanding disc for more aggressive rust removal
- Rust converter to neutralize any remaining corrosion and prepare the surface
- Automotive primer to bond paint to the metal and prevent new rust
- Matching touch-up paint and clear coat for a seamless finish
- Body filler if the rust has created shallow pits or indentations
A tack cloth, masking tape, plastic sheeting, and mixing sticks are also useful for surface preparation and protecting non-rusted areas.
Safety Precautions
Always wear nitrile or latex gloves to protect your hands from solvents and rust particles. Use a particulate respirator mask rated for fine dust and fumes, especially when sanding or spraying.
Safety goggles or a full-face shield will guard against debris and chemical splashes. Never work in enclosed spaces without proper ventilation.
Step-by-Step Guide to Fixing Fender Rust
Step 1: Removing Rust (Sanding, Grinding)
Start by masking off surrounding areas using tape and plastic sheeting. Sand the affected area with 80-grit sandpaper or a sanding disc until all rust and loose paint are gone. Continue with finer grits to smooth the edges of the bare metal. Clean the area thoroughly with isopropyl alcohol or degreaser to eliminate dust and grease.
Step 2: Applying Rust Converter
Once clean, apply a rust converter to any small patches of rust that remain embedded in the metal. This chemical treatment changes iron oxide into a stable compound and halts corrosion. Follow the product instructions and allow full drying time, typically 30 to 60 minutes.
Step 3: Priming the Area
After the rust converter has cured, apply an automotive primer in thin, even coats. Hold the spray can 6 to 8 inches from the surface and apply 2 to 3 layers, allowing each coat to dry for 10 to 15 minutes. The primer serves as both a sealant and bonding agent for the paint.
Step 4: Painting and Finishing Touches
Once the primer dries, lightly sand with 400-grit sandpaper to create a smooth base. Wipe the area with a tack cloth and begin applying the matching paint in multiple light coats. Allow 10 minutes between coats to prevent drips or sagging.
After the final coat, apply clear coat for protection and a glossy finish. Wait at least 24 hours before washing the area.
Step 5: Allowing Proper Drying Time
Each layer converter, primer, paint, and clear coat requires specific drying time. Rushing any step can lead to bubbling, poor adhesion, or uneven texture. Ideally, let the car sit indoors for a full day to ensure complete curing, especially in cooler or humid conditions.
Final Thoughts
Fixing fender rust at home is a practical and rewarding task when you use the right approach and tools. Early intervention not only stops rust from spreading but also helps preserve your vehicle's structural integrity and resale value.
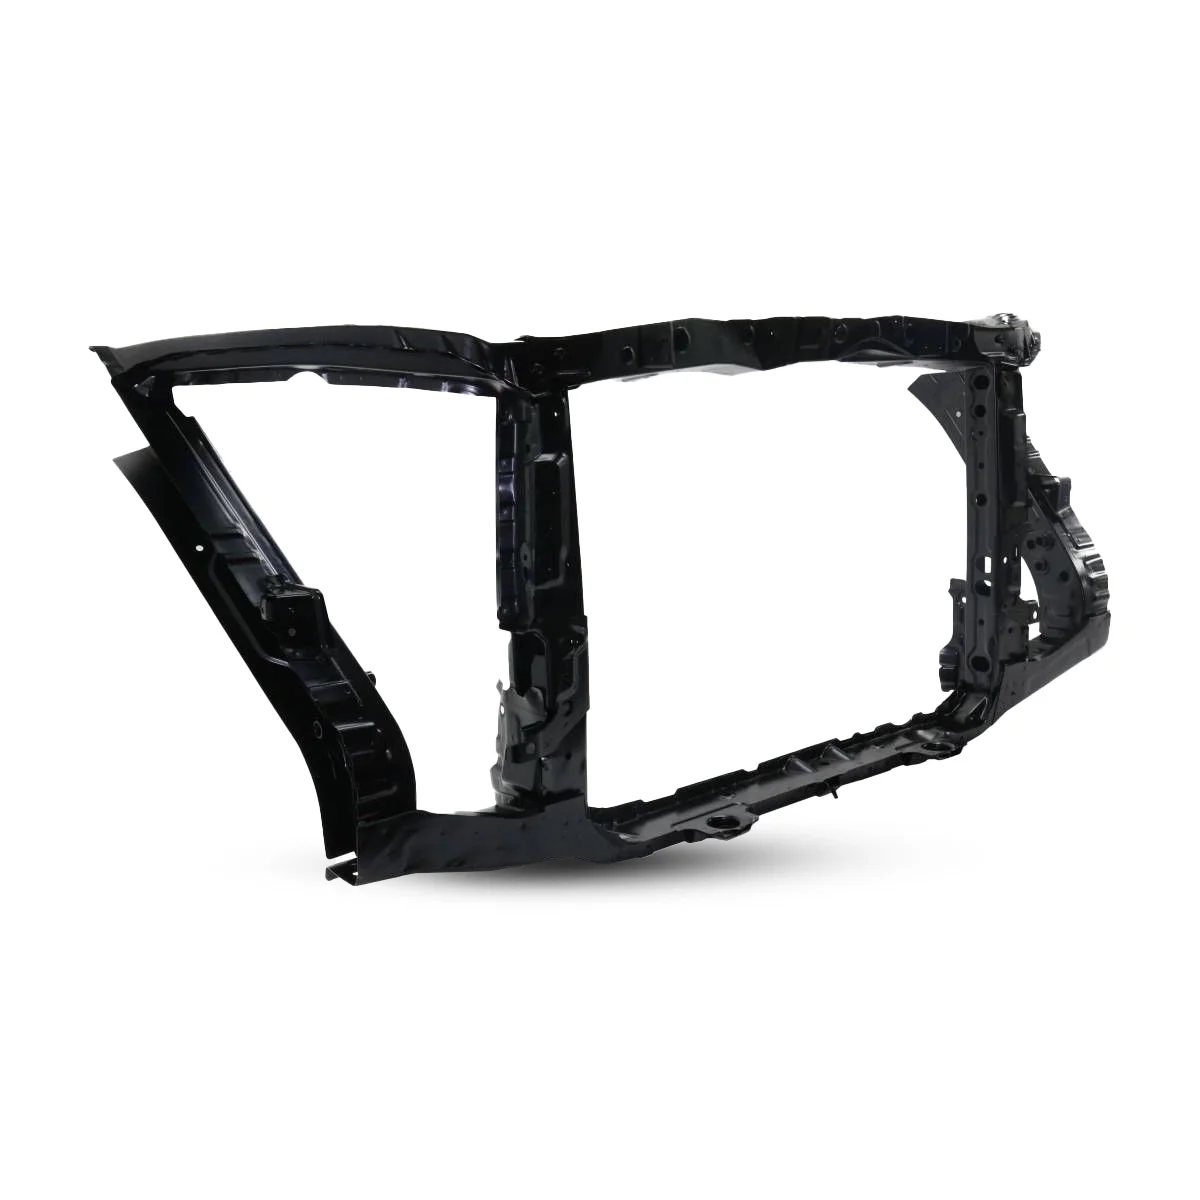
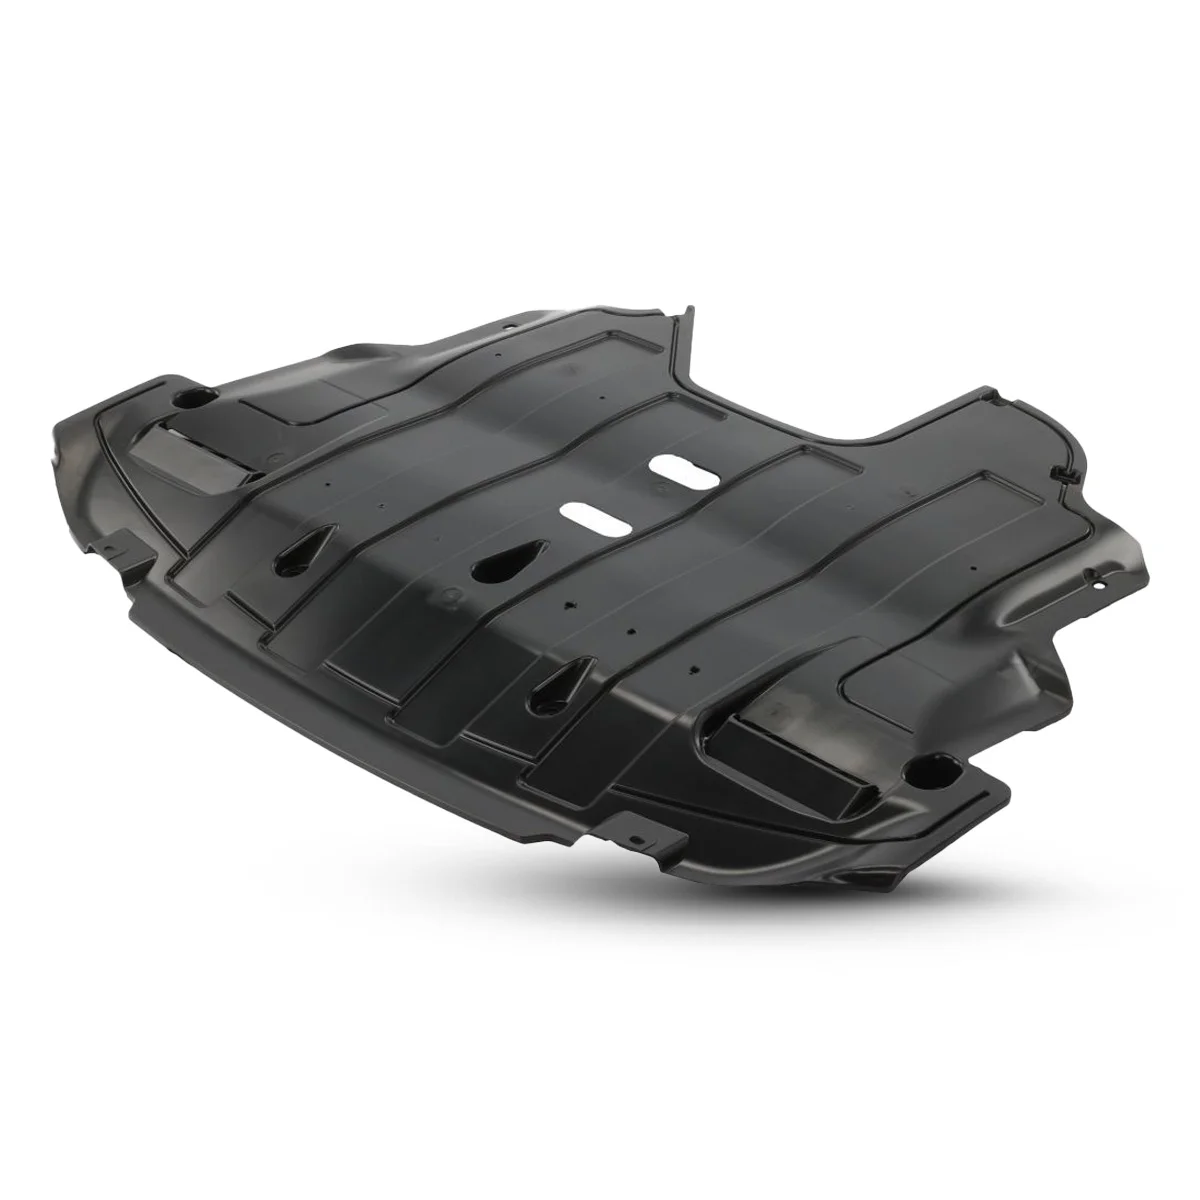
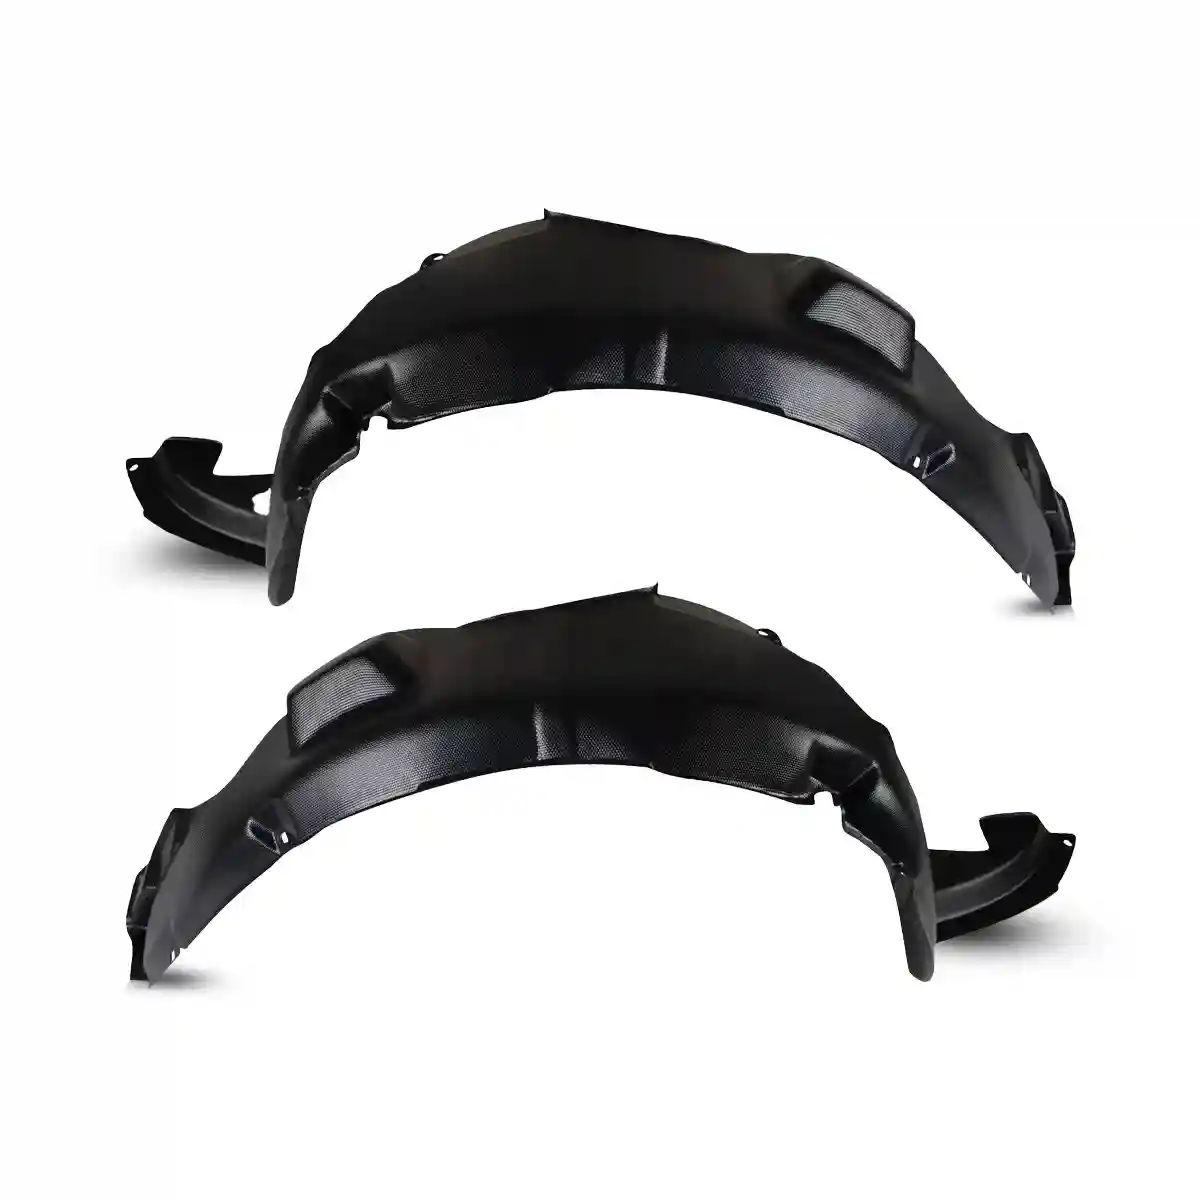
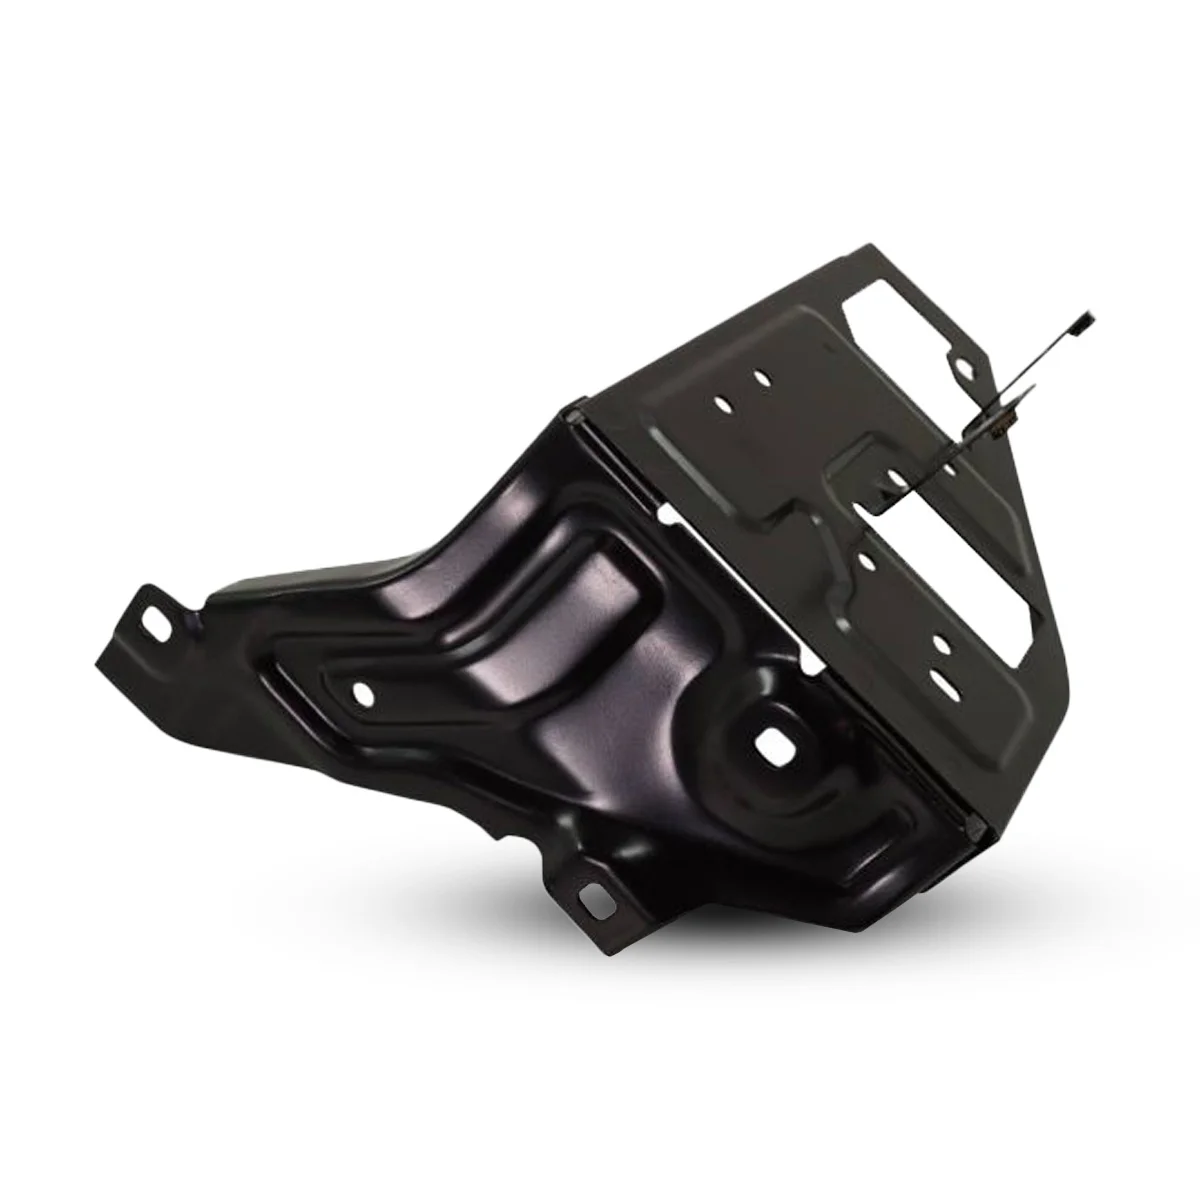
If your repair requires replacement fenders or related components, Painted Auto Body Parts offers a wide selection of OEM-compatible car parts tailored to your vehicle. We provide high-quality solutions that fit right and ship fast.
FAQs
Can I fix rust without repainting the entire fender?
- Yes, localized rust repairs allow spot treatment. Use blending techniques to match paint and apply clear coat for uniformity.
How do I prevent rust from returning?
- After repair, regularly wash under the fenders, especially in winter. Apply wax and inspect for paint chips to seal out moisture.
What if the rust returns after a few months?
- Recurring rust usually indicates incomplete removal or poor surface sealing. Strip the area again, apply rust converter, and re-prime thoroughly.